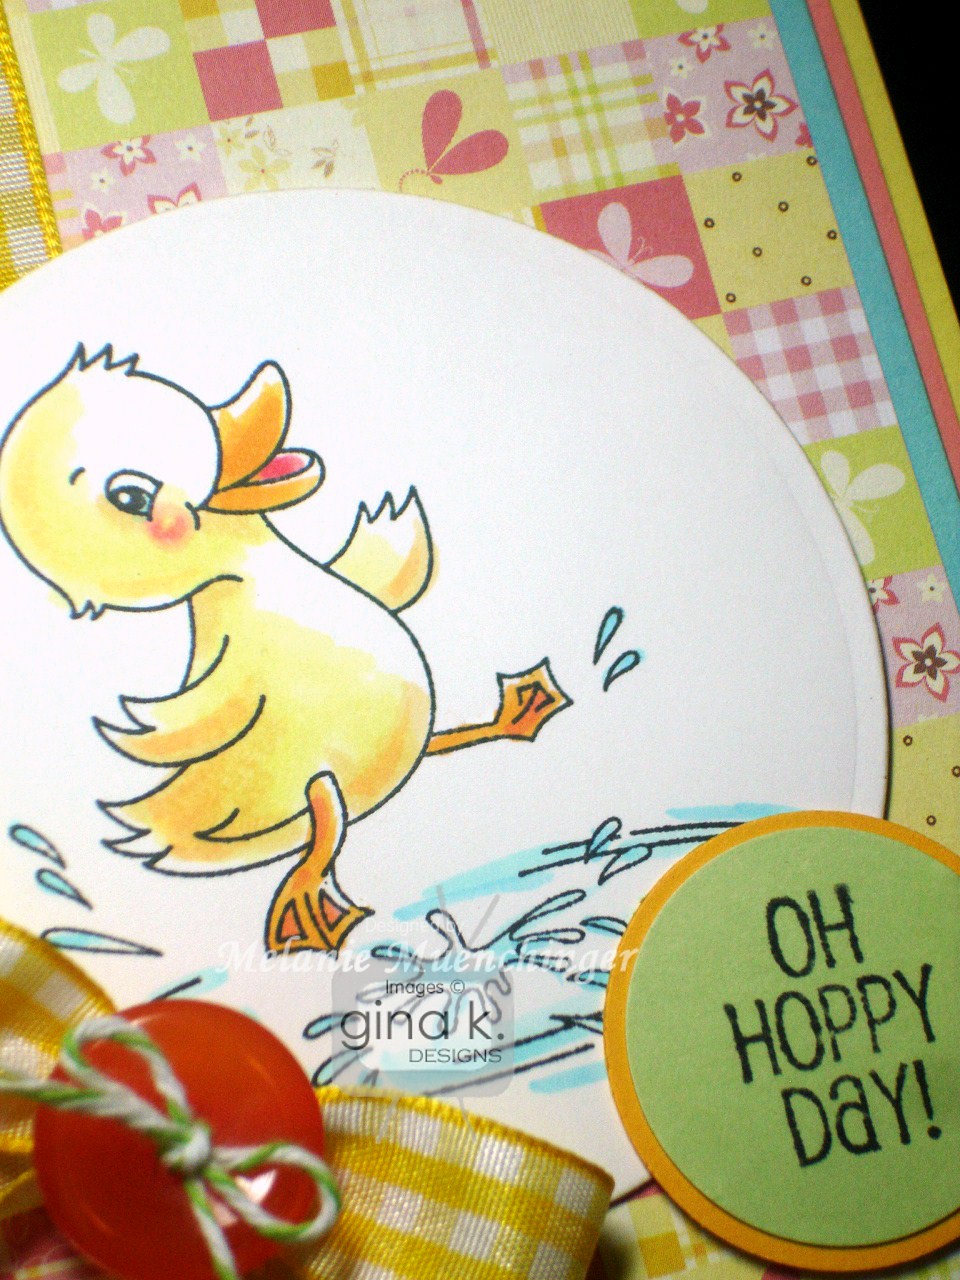
Good morning, welcome to our first day of Inspiration Hops for our new Gina K Designs release1 The first set I am showing today is my new
Stately Flowers 3, the third in my Stately Flowers series! (BTW,
Theresa told me this is her favorite of the series so far, oh my!) This month I have three new flowers (large and small versions of each)
Magnolia, Bitterroot and Forget-me-not, representing the four states
Louisiana, Mississippi, Montana and Alaska. I love all the sentiments in this one, too, suitable for so many different occasions!

Well, I have lived in Texas all my life, so the first stamp I had to get inky in this set was the
Southern Magnolia! There is a huge magnolia tree growing in our neighbor's yard across the street, and if you have never seen these beauties in real life, they are a sight to behold! I would venture to say they are easily one of the "stateliest" flower in the whole series: their blooms with creamy, ivory petals like bisque porcelain are as a wide as a dinner plate! I went to town with my Copics coloring this one! You don't have to do as much shading on these white petals for a show-stopping card, but I wanted to challenge myself, I'd been waiting so long to color this image! :) The flower is stamped in
Memento London Fog (no black today, I wanted the outline to be a little more subtle.) Die is a
Petite Oval Nestabilities.
The photo below shows the colors I used, hope these are helpful! There are so many other combos of green you could use for the leaves, shades for the petals, and pastels for the background, so don't worry about having these exact colors, just a reference of the range of shades and contrasts I used. I will do step by step photos for you soon. Depending on the location of your light source shadows will vary, for this sample I imagined it coming straight down, which cast large shadows onto the lowest petals from those above. BV31 (Pale Lavender) was great for this, and the warm corals and peach shades around the flower really set off the cool shades nicely. I did not use a blender at all, as I like to blend dark colors with my lightest marker, as well as doing tip to tip coloring to create an in between shade.

I used the smaller magnolia to stamp a watermarked pattern in
Versamark on the
Pure Luxury Just Peachy cardstock adding some score lines above and below the greeting, also from this set (don't you love these two fonts together?) I used both the large and small image to create a green pattern on
White cardstock with
Crushed Olive for one flower
and
Forest Moss Distressing inks for the other
, sponging the edges with same.

Card base is
Pure Luxury Innocent Pink and mat is
All Spruced Up. I also used a
Classic Triple Scallop Edgeabilities to cut a border in the sponged mat. Finally, pearls are just the perfect embellishment for these Southern ladies!
Next I want to show a sample I made using the Bitterroot and NO coloring. I'd never seen nor heard of these gorgeous flowers before I started drawing the series. (I would like to know who came up with this name for such a beautiful flower lol! I'm guessing someone tried to eat it way back and when and it was...
bitter!) Anyway, the symmetry of this flower is just perfect for stamping patterns, so I stamped the flower again and again re-inking each time, in pink on
Pure Luxury Ivory. Next, I scored a diamond pattern at one inch intervals with my
Scor-buddy, and then covered two thirds of the mat with scratch paper so I could
sponge more of the same pink ink over the left. Pull your scratch paper away, and it looks like you have two layers of perfectly coordinated paper!

I chose this
Fancy Tag 2 die , which I thought framed up this new sentiment so beautifully, and sponged pink over the die before removing like a stencil. Well,
happy accident, this is the first time I noticed
those two little pieces that pop out of the die on top and bottom look like teeny hearts, isn't that just so sweet with the "spread your love..." sentiment, like scattering seeds? So I popped these up on the right corner.

I love finding uses for the perfectly cut negative pieces that come out of Spellbinders dies! Card base is
Black Onyx and the "O" in love is embellished with a
single adhesive pearl. Seriously minimal card with just two cardstock colors, two inks, one die, and one embellishment (but I really like how it turned out!)
Hope you love this new
Stately Flowers 3 set as much as I do!
Our next set is from
Rupa Shevde "Mehndi Wishes". I love these designs, they are completely unlike any other stamps I have in my collection, yet I have always been fascinated with the right colors and motifs of India as well the beautiful henna body art that is Mehndi!

I wanted to make a pattern with the gorgeous flourish design and thought this jumping horse was perfect for the sentiment "
You can do anything". What a fantastic sentiment and joyful image!

I started by stamping the flourish on
Pure Luxury Lipstick Red in
Memento Tuxedo Black, turning the stamp back and forth to create a nesting pattern. I used
Classic Ric Rac Edgeabilites to cut and emboss a border on the side the side, I thought the dots and diamonds in this die were perfect with the details in these stamps.

Here you can see I finished adding
Sakura Gold Glitter pen inside each hole of the cut out and to accent different details in the flourish, just tracing, very simple to do, but it now it looks like gold silk thread in a sari!

I stamped the horse on white and used Copics R59 and R11 for mane and designs and W-5 for the shadows. Don't forget the glitter pen! He's popped up with foam dots and fussy cut, ready to hurdle that greeting! :)
Oh, isn't he magnificent?!
Reminds me of some of what I think is the most beautiful writing in the Bible, when God speaks to Job of His creation. It goes on and on for several chapters describing the vast wonders of nature, the weather, etc, but this part of chapter 39 is about the horse (emphasis mine):
19 “Do you give the horse its strength
or clothe its neck with a flowing mane?
20 Do you make it leap like a locust,
striking terror with its proud snorting?
21 It paws fiercely,
rejoicing in its strength,
and charges into the fray.
22 It laughs at fear, afraid of nothing;it does not shy away from the sword.You can do anything, indeed!
Enjoy hopping with the rest of our Gina K Designs team for more inspiration with these new stamps!
As you hop through the blogs, make sure you leave a comment on each of the blogs including mine because we will choose two random winners from all of the comments who will each win a grab bag full of deeply etched, precut Gina K. Designs stamps!
Thanks for visiting me today, I truly appreciate your comments and feedback! Hope these card photos and explanation are helpful to you! :)
 Welcome to Day 2 of our Inspiration Hops with the Gina K Designs team! As you hop through their blogs, make sure to leave a comment on each of them because we will choose a few random comments and those stampers will each win a grab bag of deeply etched, pre-cut Gina K. Designs stamps! To see the full list of winners check the Big News forum at Stamp TV a couple of days after the hops.
 First up, we have Theresa Momber's new Under the Sea set(available in clear or rubber), perfect for summer! My husband has had marine aquariums as a hobby for over 25 years so he will love all the gorgeous sea life in this set! I decided to use the sea turtles today, don't have any in my collection!
 Create a simple, sponged background with Memento Bahama Blue on Pure Luxury White and stamp on the seaweed randomly in Bahama Blue and Bamboo Leaves. Stamping off to get a second shade will create a lot of depth. Add the smaller turtle and a few fish silhouettes. Finally color and cut out this cute turtle! I was looking for some bubbles in the set and then realized a little bling here and there for sparkle would be so much better! "Just keep swimming!"
 Next we have Rupa Shevde's Enjoy the Journey (available in clear or rubber), what a great travel set! After staring at all the images and greetings for a few minutes, I decided I wanted to make shaped card, look how simple to make this suitcase....
 First, score Pure Luxury Tan Leather cardstock and fold to create a side fold card. cut off about inch of the folded side. This will leave you with a front and back panel that you know you will fit in a envelope.
  Round the corners with a small corner rounder punch. Then cut the folded part for your handle. Round the corners and cut out the inside in a U shape.
  Sponge Vintage Photo Distressing ink all over to add depth and bring out the beautiful grain of the leather cardstock.
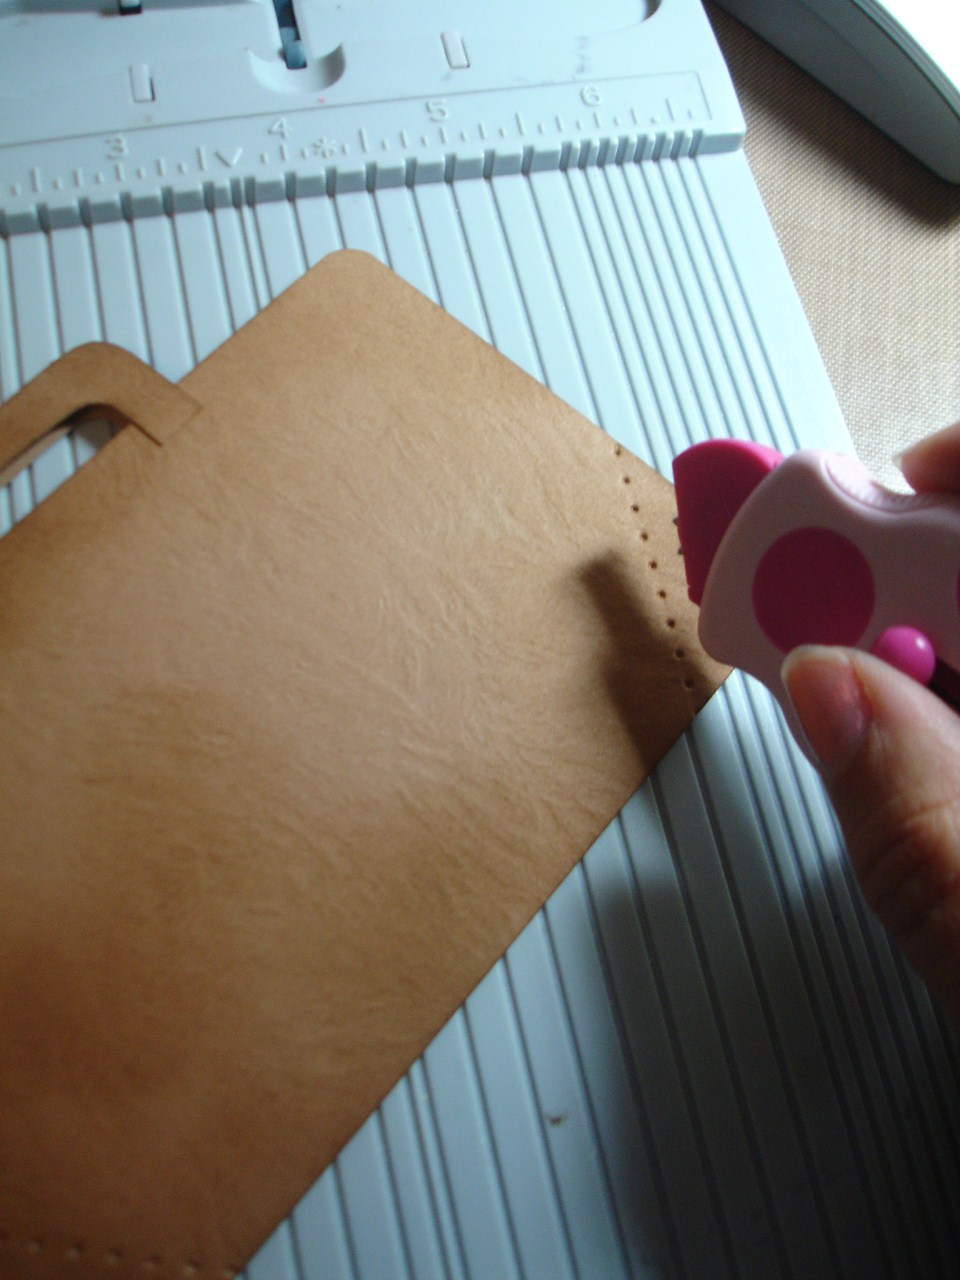 Open the handle and put a little adhesive at each corner.
 Now add some little details to finish the case, like piercing the corners with the Scor-Bug and Scor-Buddy, add adhesive nailheads for bling. I also collage stamped the compass to add interest.
 Stamp on the globe in black and then stamp again on white CS and color. Cut out the colored image and adhere with pop dots over first image so you can see those lines encircling the globe.
  Create tag from leather and white cardstock and stamp greeting.