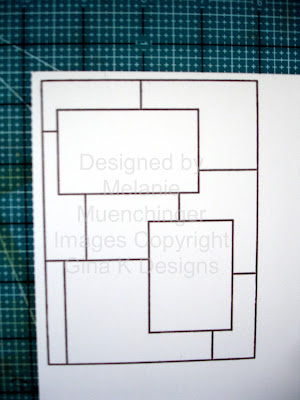
This first pic shows what the mosaic grid looks like adhered to the 6x6 acrylic gridline block. (Your stamp will look much nicer than mine, as mine was before diecutting! All the frames sets are now die cut!) I have it centered two squares over on each side with the top edge of my image (not the top of the rubber!) lining up with the grid line on my block, make sure both corners meet the line and it WILL be lined up! It doesn't quite meet one of the lines at the bottom, but that's okay, you will only be looking at this top line when you are stamping.
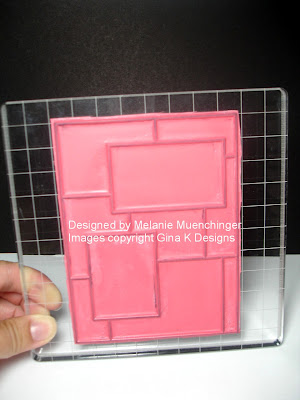 TIP: If this is the only BIG stamp you have, leave it on the block! :)
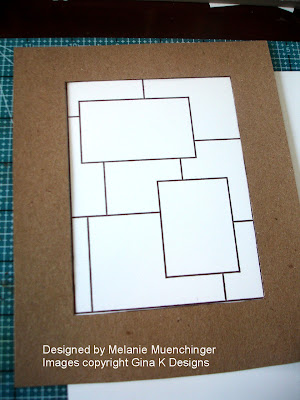
Now, you're going to want to make some masks. Keep these with your set, they will allow you a variety of looks and can be used again and again. Stamp the grid into the middle of a thin sheet of scratch paper, I usually just use printer paper, the thinner the paper you use the better, a thick paper will "bump back" the image and keep all of your image from stamping properly up to the edge of your masking. (Here I'm using text weight kraft paper just so you can see it better when I place it over a white sheet I'm stamping on) Trim along the edge with a craft knife, here I'm using the Tim Holtz retractable knife. You can finish this up with scissors, but the reason I start it with a knife is so I don't have to cut in from the edge to get to the image, this piece will just fall out and I'm left with a window.
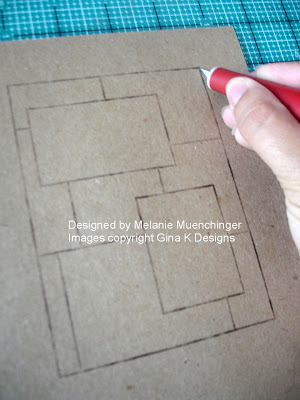 Be sure to leave a couple inches of room on the sides so that when you
are sponging or stamping off the sides it won't hit your paper outside
the mask.
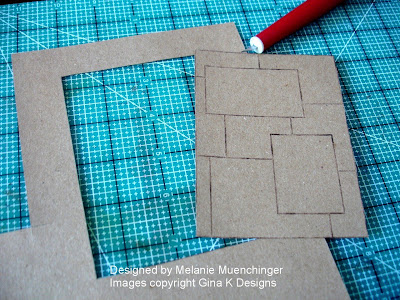 Now cut out the two top rectangle "layers", you are left with FOUR
pieces you can use: the large window (to use like a reverse mask), the
grid with the two cut outs (you can stamp inside these), and then the
two little rectangles you can place over the rectangles when you are
sponging to keep these areas clean and blank.
 I will show you how to mask with all these in my next post!!
Now , here is a pic of me stamping the grid onto my CS I will be using on my project, you can just see the edge of the white paper peeking out. So I only have to cut on two sides, I make sure the line on the grid block that is lined up with the top of my image is parallel to the top of my CS, that way I know it will be straight. I also bring it down about 1/8" from the top and 1/8" over the side (It make look like its further over on the left, but it's the angle I'm taking the pic at)
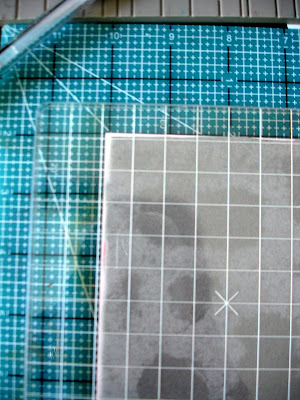 When I pull the stamp away, my CS is ready to cut on the right side and below
the image so it will be perfectly framed up on my paper. Stamping it
this way into the corner of a sheet of CS, I can get 4 mats from an 8
1/2" by 11 piece with very little waste. Love it!
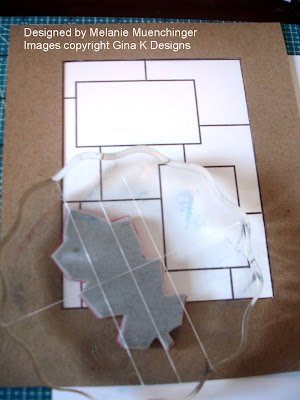
Start by stamping the grid onto CS and cover it with the large window mask you made. This will be a reverse mask, meaning you cover the part around the outside of your image and stamp into it.
 Now stamp your image into the grid, here I'm using one of the images from the "Signs of Autumn" StampTV kit, mounted on a round acrylic block.
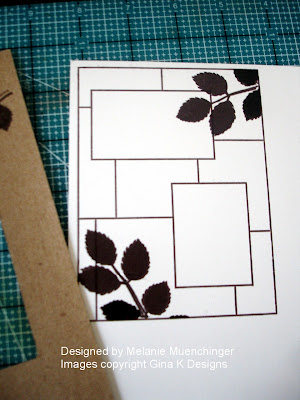
 Here's
what it looks like after stamping another branch and pulling the mask
away, see how you still have a clean border surrounding the image? TIP:
When I stamp things into my grid, I like doing "corner to corner" this
way with my images, (as well as turning them to point inward towards the
other elements I'm going to add) to help balance the layout. You could
also do the reverse: top left and bottom right. An odd number like three
branches would be nice, just try to keep them from bring too heavily
concentrated in one area. (I'm going to add a third element at the end).
I like having the branch overlap into the top box I'll use for my greeting just bit.
 Now I'm going to cover it back up with both the big window AND the cutout of the entire grid, minus the smaller windows, and stamp one more branch into the bottom box.
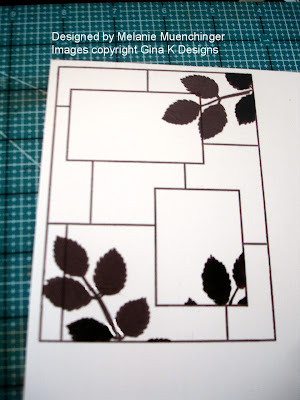
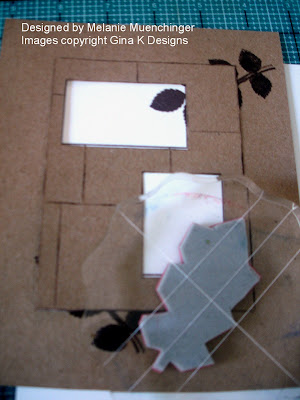 Here it is pulled away again, having just part of the branch emerging creates a feeling of depth and multiple layers.
 Last I'm going to use the large window and one of the little rectangles for some sponging action. Covering the boxes keeps these areas bright white, they will really pop after I'm done adding my orange ink.
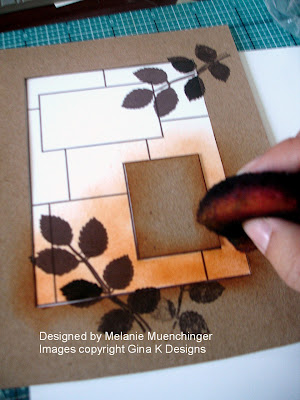 This is what it looks like! You can pull your mask away as many times as you like to see if you are happy with the look or want to add more ink. Put the mask back on and finish sponging the top corner.
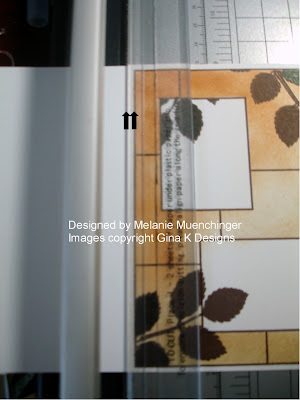
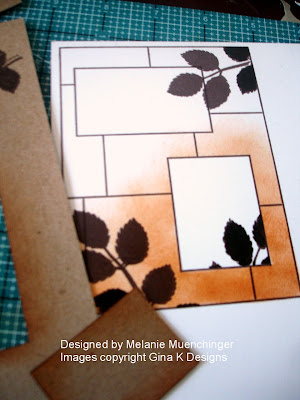 Now, to cut! Your cutter may be a little different than mine, but see how the border of my stamp is parallel to the edge of the plastic grip and cutting track?
I put in 1/8" over, this way I will come out with a mat that has even
borders on all sides, AND, even if I didn't stamp it exactly square to
the corner, because the image is a rectangle, when you line it up to the
border of the stamp and NOT the bottom of the cardstock, all the sides
will be squared up. I love that! You will have a mat ready to adhere to
your A2 card front.
Finish sponging the top corner and trim your stamped grid. Add your greeting (also from the STV kit), a popped up a butterfly ("Take Flight"), and adhere to your card base. I put the butterfly at an angle in between the branches, pointing towards my quote.
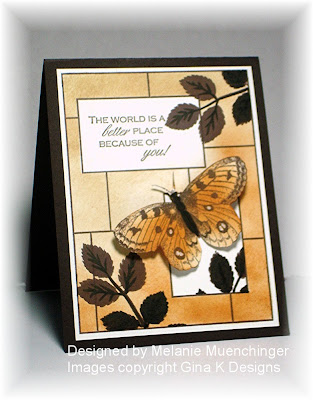 I added a few more touches like some veins on the bold leaves with my marker onto the CS after stamping. That's it, a 2 layer card, plus the butterfly.
 Today I am busy making a n updated version of this card with Stately Flowers 7 rose. I'll be back to share it soon. Bye!
Really great work. Beautiful. Thanks.
ReplyDeleteThat is awesome! Thank you for the very detailed instructions. I really enjoyed the blog hop the other day and browsing through your archives to see all the possibilities on this amazing set. I'm planning to add it to my collection this weekend while it's on sale.
ReplyDeleteBeautiful card, Melanie! Great detailed instructions which are such a big help. Looking forward to the rose card.
ReplyDeleteFantastic technique & wonderful tutorial!
ReplyDeleteThanks for showing how to mask and make cards with that. I was hoping to get the book, but by the time I got the email about the sale it was already sold out. So I missed on that but did get a few of the stamp sets I didn't already own.
ReplyDeleteThey are back in stock now, Verna! If you call or email, they can probably add it to your order. :-)
DeleteThank you Melanie, for the tutorial idea. Hope there are frame stamps left by the time I get around to buying one.
ReplyDeleteThanks for the great advice. Your card is simply amazing!
ReplyDeleteoh, oh, I have this stamp. Now I will definitely have to use it again. Congrats on your new book.
ReplyDeletegettin' inky...
That is just beautiful and so creative! I just ordered this stamp set and I can't wait to start using it! So many options....
ReplyDeleteThank you for showing how to create this great idea. Now I have great ideas for this set!!!!
ReplyDeleteIt's such a stunning scene, Melanie! And thank you for the step by step instructions -- can use them in so many ways!
ReplyDelete